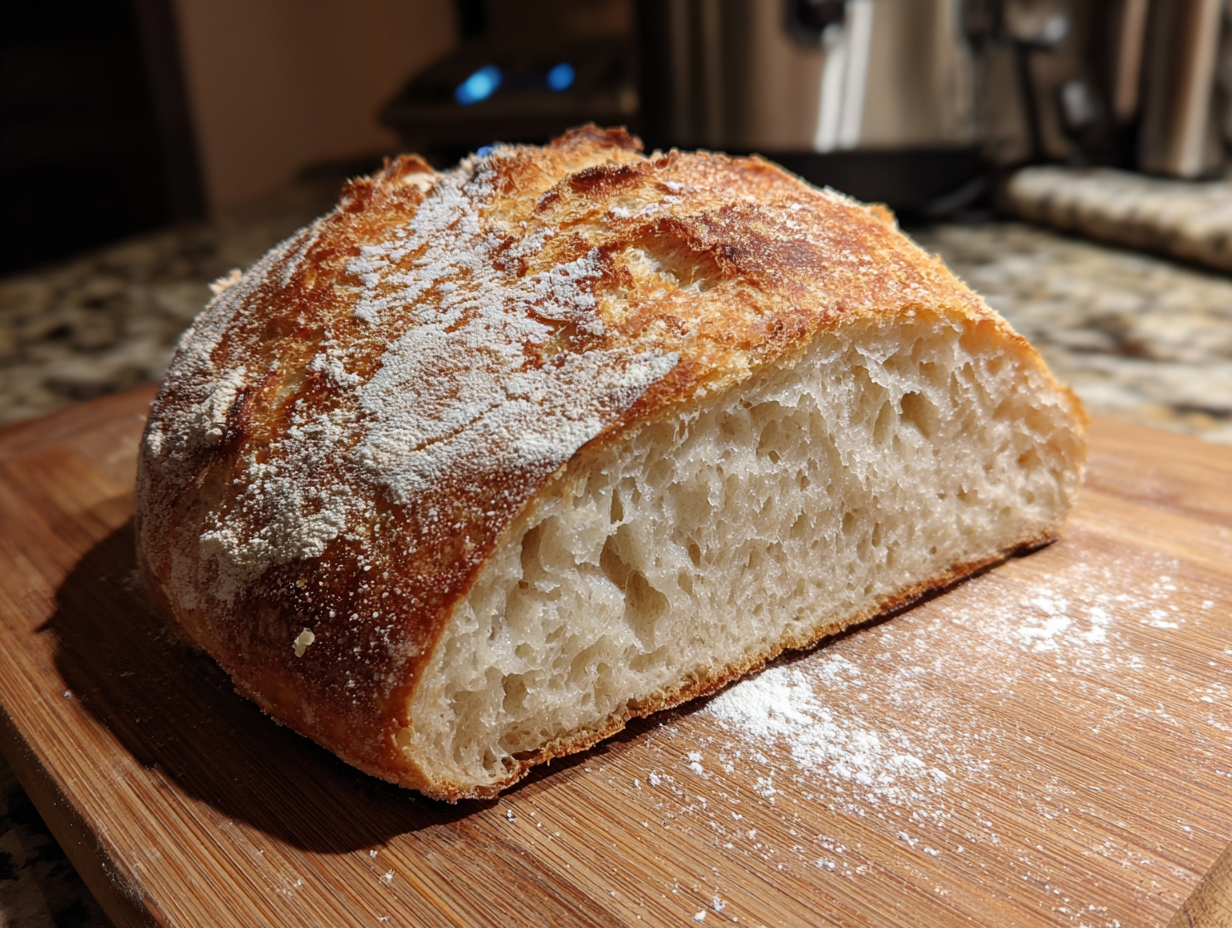
Creating your own sourdough starter from scratch might seem intimidating at first, but it is one of the most rewarding kitchen projects you can take on. With just two basic ingredients and a bit of patience, you can build a bubbly, active starter that brings your homemade bread to life. This guide is designed specifically for beginners, so you can confidently begin your sourdough journey without feeling overwhelmed.
Many people are turning to sourdough baking not only for its rich flavor and chewy texture but also for the connection it brings to traditional methods. Unlike commercial yeast, a natural sourdough starter captures wild yeast from your environment, creating a unique culture that becomes the heart of your bread. Whether you’re dreaming of rustic loaves or soft sandwich slices, it all starts here with a simple jar, some flour, and a bit of time each day.
Why You Need This Recipe
This beginner sourdough starter recipe is simple, reliable, and crafted with first time bakers in mind. It removes the confusion around feeding schedules and flour types by keeping things clear and straightforward. You will learn exactly what to expect at each stage, helping you build confidence as your starter grows strong and active.
More importantly, having your own sourdough starter opens the door to a whole new world of baking. From tangy artisan loaves to soft rolls and even pancakes, your homemade culture adds incredible depth of flavor that store bought yeast simply can’t match. This recipe sets you up with the right foundation so you can enjoy that unmistakable sourdough taste in every bite.
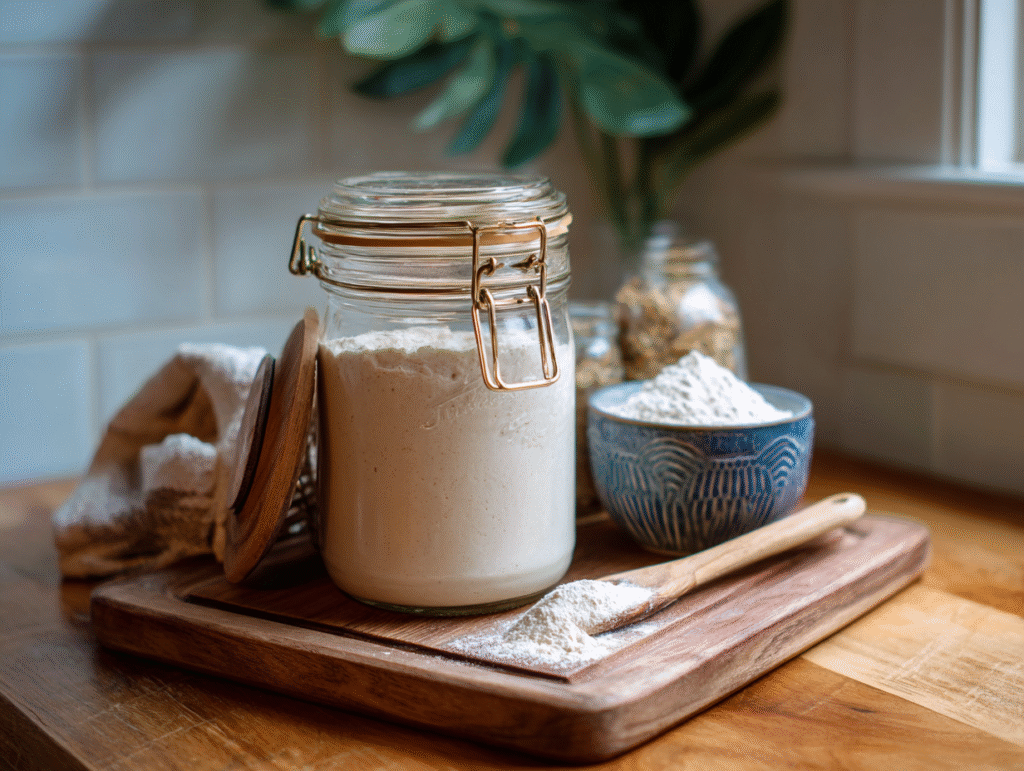
Ingredients
To get your sourdough starter off to the best possible beginning, you only need two pantry staples. Here’s a simple breakdown to guide you:
| Ingredient | Quantity per Feeding | Calories (Approx.) |
|---|---|---|
| All-purpose flour | 1/2 cup (60g) | 220 kcal |
| Filtered water | 1/4 cup (60g) | 0 kcal |
How to Prepare
Start by selecting a clean glass jar or container. On day one, mix 1/2 cup of all purpose flour with 1/4 cup of filtered water in the jar. Stir until smooth, scraping down the sides. Cover the jar loosely with a lid or clean cloth and leave it at room temperature, ideally between 70°F and 75°F.
On day two, check for small bubbles or a slight tangy smell. You may not see much activity yet, and that’s perfectly normal. Discard half of the mixture and feed the remaining half with another 1/2 cup of flour and 1/4 cup of water. Stir well, cover, and leave it at room temperature.
Repeat this feeding process every 24 hours. By day three or four, you should see more bubbles and notice a sour aroma. Continue discarding half and feeding the rest each day. Around day five to seven, your starter should double in size within 4 to 6 hours of feeding. When it does, it’s ready to bake with.
If you’re not ready to bake daily, you can store the starter in the fridge and feed it once a week. Just remember to bring it back to room temperature and give it a few feedings before using it in recipes.
Pro Tips
Use filtered or dechlorinated water to help the wild yeast thrive. Tap water with chlorine can slow down or even prevent fermentation, especially in the early stages.
Stick to a consistent feeding schedule. Feeding your starter at the same time each day helps it develop a strong and steady rise, which is essential for good baking results.
Keep your jar in a warm, draft free spot. Room temperature should stay around 70°F to 75°F. If your kitchen is cooler, try placing the jar in the oven with the light on or inside a turned off microwave.
Mark the level of your starter after each feeding with a rubber band or marker. This makes it easy to see if it’s rising properly and when it doubles in size.
Use a kitchen scale for accuracy. While cup measurements work, weighing your flour and water in grams ensures consistency with each feeding.
Don’t worry if it smells sharp or funky early on. That’s a normal part of the fermentation process. A mature starter should smell slightly tangy and yeasty, like sour yogurt or ripe fruit.
Perfect Pairings and Toppings
Once your sourdough starter is active and ready, the possibilities for baking are endless. A freshly baked sourdough loaf pairs beautifully with softened butter, olive oil and balsamic vinegar, or a spread of creamy goat cheese. For breakfast, try topping a slice with smashed avocado, poached eggs, or a drizzle of honey for a sweet twist.
Sourdough also works well in recipes beyond bread. You can use it to make tangy pancakes, crisp waffles, or even sourdough pizza crust with your favorite toppings. Whether you enjoy savory or sweet flavors, this homemade starter becomes the base for creations that are rich in taste and full of texture.
Conclusion
Starting your own sourdough journey may feel like a slow process, but it brings lasting rewards with every rise and bake. This beginner friendly recipe offers a clear, easy path to building a strong and healthy starter from scratch. With just flour, water, and a little patience, you’re creating something that can serve your kitchen for years.
Whether you plan to bake crusty loaves or explore creative uses like pancakes and pizza dough, your homemade starter is the key to deep, delicious flavor. Keep nurturing it, stay consistent with feedings, and enjoy the satisfying results of naturally fermented bread made right in your own home.