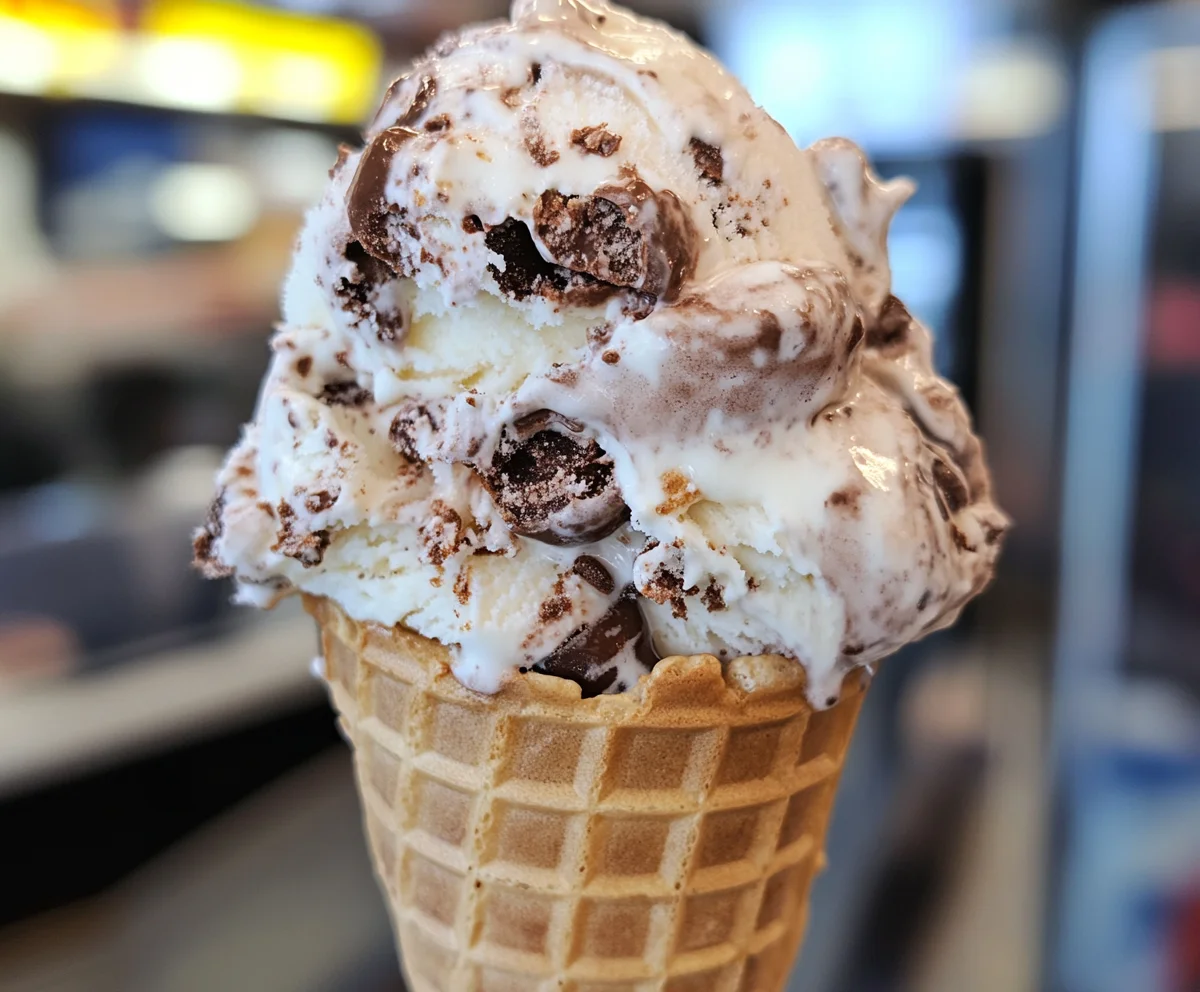
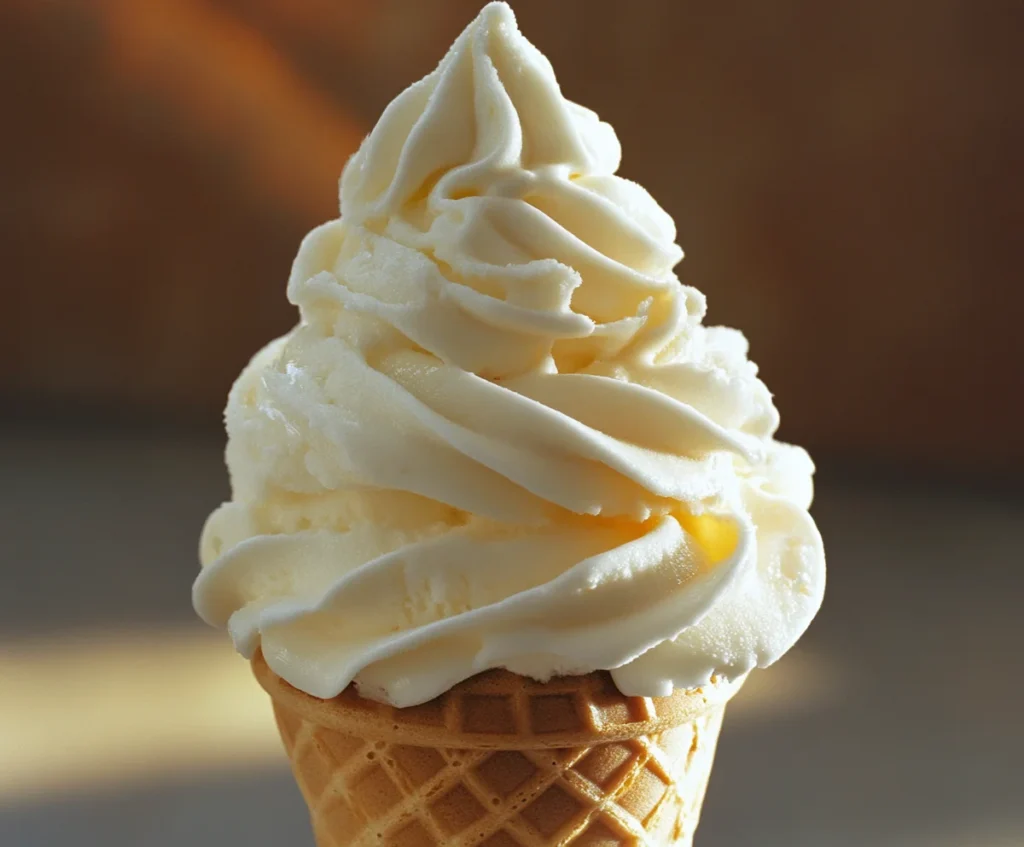
There is something truly special about enjoying ice cream in a freshly made cone. The crisp texture, warm aroma, and delicate sweetness make it far more enjoyable than store-bought options. Many pre-packaged cones tend to lose their crunch over time, but when made at home, they are always fresh and perfectly crisp. With just a handful of basic ingredients, you can prepare cones that complement any ice cream flavor, whether you prefer classic vanilla, indulgent chocolate, or a fruity sorbet.
Homemade ice cream cones are not just about taste but also about customization. You can control the level of sweetness, adjust the texture, or even add a hint of flavoring like cinnamon or cocoa. If you love experimenting in the kitchen, this recipe allows you to get creative with different variations. A freshly made cone enhances every bite of ice cream, making the experience even more delightful. It is a great way to turn a simple dessert into something special.
This recipe is easy to follow and requires minimal effort, making it perfect for any home cook. The process of preparing, cooking, and shaping the cones is simple and fun. Whether you are making them for a summer gathering, a family treat, or just to satisfy your ice cream cravings, these cones will take your dessert game to the next level. Once you try homemade ice cream cones, you may never want to go back to store-bought ones again.
Why You Need This Recipe
Homemade ice cream cones bring a level of freshness and flavor that store-bought ones often lack. When you make them yourself, you get to enjoy a crispy and delicate texture that pairs perfectly with any ice cream. Many packaged cones can taste bland or become stale over time, but a freshly made cone has a light, golden crunch that enhances the overall dessert experience. The rich aroma of a homemade cone adds to the appeal, making each bite even more satisfying.
Another great reason to try this recipe is the ability to customize the flavor and texture of your cones. You can adjust the sweetness, add a hint of vanilla, or even experiment with different ingredients like cinnamon or cocoa for a unique twist. Some people prefer a slightly softer cone, while others enjoy an extra crispy texture. When making your own, you have the freedom to create the perfect cone that complements your favorite ice cream flavors. This flexibility allows you to enjoy a truly personalized dessert.
Making ice cream cones at home is also a fun and rewarding activity, especially if you love trying new recipes. It is a great way to get creative in the kitchen and can be an enjoyable experience to share with family or friends. Kids will love watching the cones take shape, and the process itself is simple enough to do with minimal equipment. Whether you are making them for a summer gathering, a birthday celebration, or just to treat yourself, these cones will add a special homemade touch to your ice cream experience.
Ingredients
The total calorie count depends on the number of cones made. On average, each cone contains around 90 to 120 calories, depending on size and thickness.
| Ingredient | Quantity | Calories (Approx.) |
|---|---|---|
| All-Purpose Flour | 1/2 cup | 220 |
| Sugar | 1/4 cup | 200 |
| Egg Whites | 2 | 34 |
| Butter (Melted) | 2 tablespoons | 200 |
| Vanilla Extract | 1 teaspoon | 12 |
| Milk | 1/4 cup | 30 |
| Salt | 1/8 teaspoon | 0 |
How to Prepare
Start by whisking the egg whites and sugar in a mixing bowl until the mixture becomes smooth and slightly foamy. Add the melted butter, vanilla extract, and milk, then mix well to combine. Gradually sift in the all-purpose flour and salt, stirring until you achieve a smooth, lump-free batter. The consistency should be slightly thick but still pourable, allowing it to spread easily on the pan.
Preheat a non-stick pan or a griddle over low to medium heat. Lightly grease the surface to prevent sticking. Pour a small amount of batter onto the pan and spread it into a thin, even circle using the back of a spoon. Cook for about two to three minutes or until the edges turn golden brown and the surface appears set. Carefully flip and cook the other side for another one to two minutes until lightly crisp.
While the cooked round is still warm, quickly shape it into a cone by rolling it around a cone mold or shaping it by hand. Press the tip slightly to seal the bottom, preventing ice cream from leaking. Hold the cone in place for a few seconds until it firms up. Allow it to cool completely on a wire rack before serving. Repeat the process with the remaining batter and enjoy your homemade ice cream cones
Pro Tips

For the best texture, make sure the batter is smooth and well-mixed before cooking. Any lumps in the batter can cause uneven cooking and affect the crispiness of the cones. Let the batter rest for a few minutes before using it to allow the ingredients to blend properly. This step enhances the flavor and ensures a uniform consistency.
When spreading the batter on the pan, keep it as thin as possible for a light and crispy cone. If the batter is too thick, the cone may turn out chewy instead of crisp. Using the back of a spoon or a spatula, spread the batter evenly in a circular motion to achieve the right thickness. Cooking over medium heat helps prevent burning while allowing the cone to develop a golden-brown color.
Shaping the cones while they are still warm is essential. If they cool too much before shaping, they will become stiff and difficult to roll. Work quickly after removing them from the pan, and use a cone mold for a perfect shape. If you do not have a mold, you can roll them by hand and use a kitchen towel to hold them in place until they set. Storing the cones in an airtight container after cooling will help maintain their crispiness for longer
Perfect Pairings & Toppings

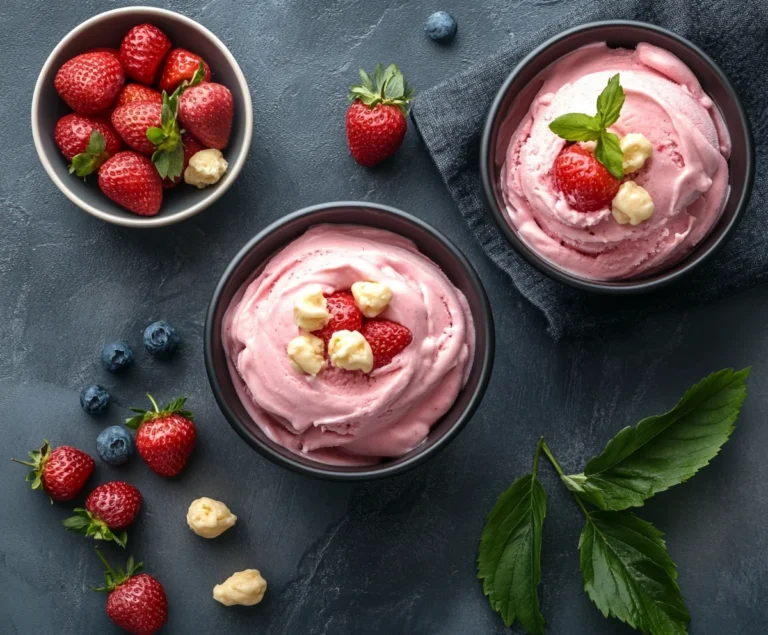
Homemade ice cream cones taste even better when paired with the right flavors. Classic options like vanilla, chocolate, and strawberry ice cream always work well, but you can also try unique flavors such as caramel, pistachio, or coffee for a richer taste. Fruity sorbets and frozen yogurts are great choices if you prefer something light and refreshing. The crisp texture of the cone adds a nice contrast to the creamy ice cream, making every bite more enjoyable.
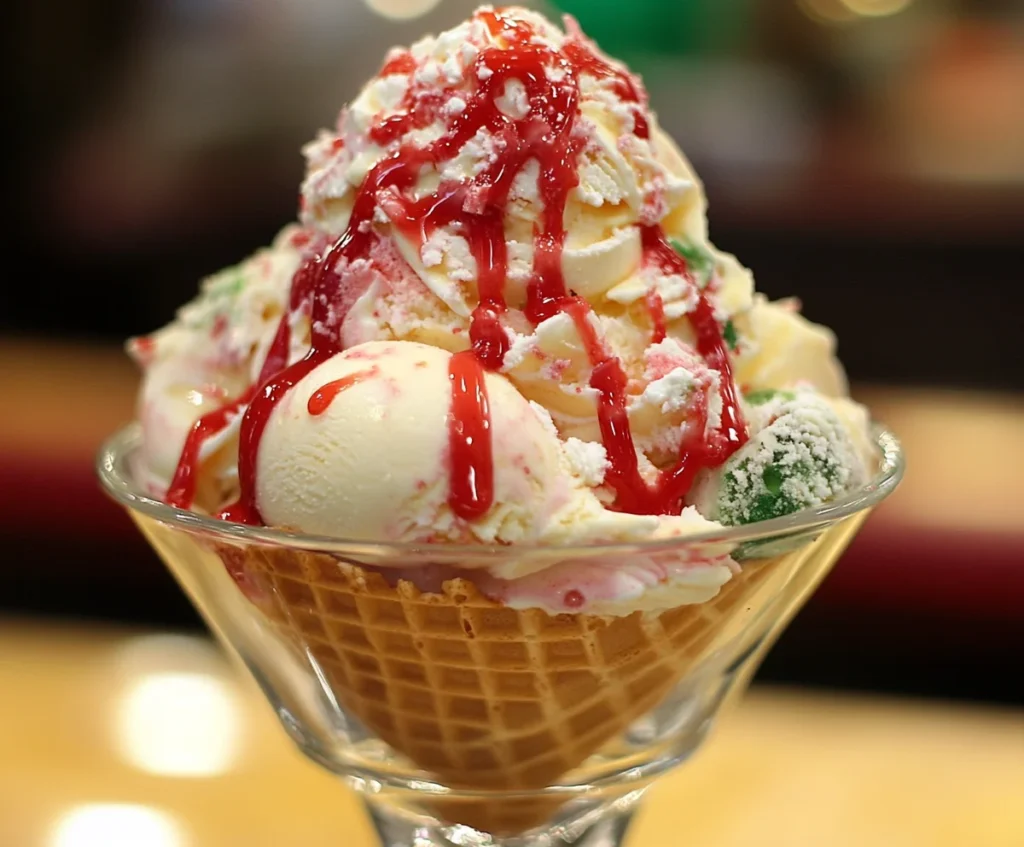
Toppings can take your ice cream cones to the next level. A drizzle of chocolate, caramel, or honey adds extra sweetness and makes the cones more indulgent. Crushed nuts such as almonds, hazelnuts, or pistachios provide a crunchy texture that complements the cone perfectly. Sprinkles, coconut flakes, or mini chocolate chips can make the presentation more fun and colorful, especially for kids.
For an extra special touch, dip the rims of your cones in melted chocolate and let them set before filling them with ice cream. This creates a delicious chocolate-coated edge that enhances the flavor. You can also add a sprinkle of sea salt or crushed cookies for more texture. Whether you keep it simple or go all out with toppings, these cones will always make your ice cream experience more enjoyable.
Conclusion
Making homemade ice cream cones is a fun and rewarding experience that enhances the enjoyment of your favorite frozen treats. With simple ingredients and easy preparation steps, you can create fresh, crispy cones that taste far better than store-bought versions. The ability to customize the sweetness, texture, and flavors allows you to craft the perfect cone to complement any ice cream.
These cones pair well with a variety of ice cream flavors and toppings, making them a versatile choice for any dessert occasion. Whether you prefer classic vanilla or more adventurous combinations, a homemade cone adds a special touch to every scoop. Dipping the rims in chocolate, adding crushed nuts, or decorating with sprinkles makes them even more delightful. By following this recipe and using the right techniques, you can achieve beautifully crisp cones with a golden-brown finish. Whether you are making them for a gathering or simply to enjoy at home, these ice cream cones will elevate your dessert experience. Try them once, and you may never go back to store-bought cones again.