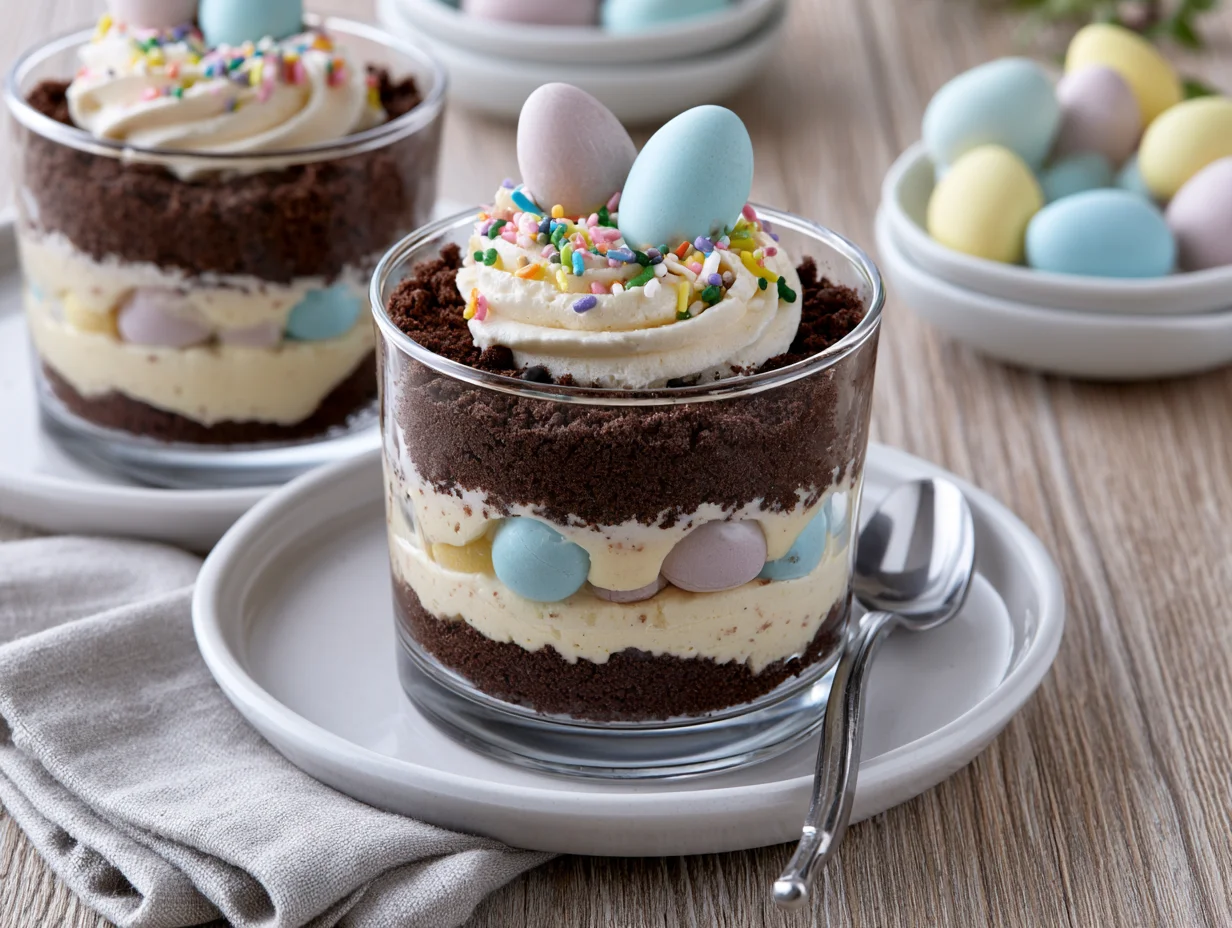
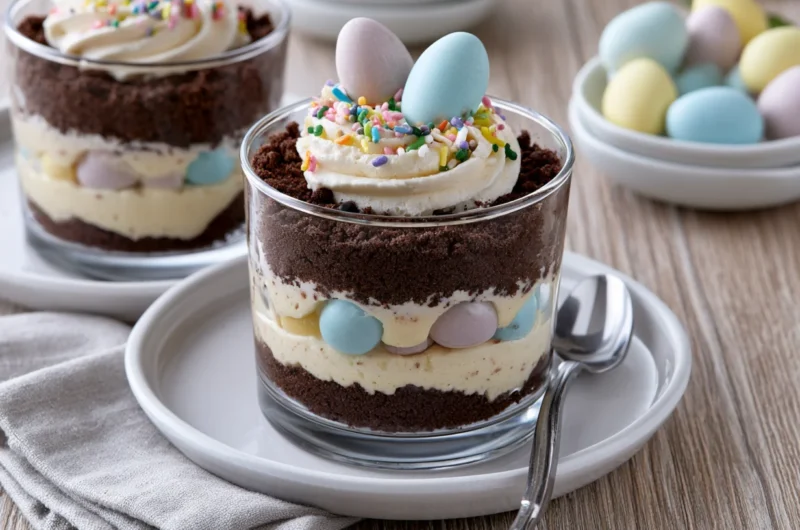
Bright, playful, and irresistibly creamy, these Fun Easter Dirt Cups bring a festive twist to a classic no-bake dessert. Layered with chocolate pudding, crushed cookies, and fluffy whipped topping, they deliver both nostalgia and indulgence in every spoonful.
This recipe is designed to capture the joy of Easter celebrations while keeping preparation simple and stress-free. With minimal ingredients and no baking required, it’s the perfect dessert for busy holiday gatherings or last-minute sweet cravings.
What makes these dirt cups truly special is the combination of textures—smooth pudding, crunchy cookie “dirt,” and soft creamy layers. Each bite feels fun, lighthearted, and perfectly balanced.
Whether you’re making them for kids, parties, or festive dessert tables, these Easter Dirt Cups are guaranteed to stand out. They are colorful, creative, and incredibly easy to assemble.
Ingredients You’ll Need
This dessert turns simple ingredients into a playful and festive treat that’s perfect for Easter celebrations. One of the things I love about this recipe is that it uses simple pantry ingredients. You probably already have most of them in your kitchen.
Base Ingredients:
- 2 cups chocolate pudding (prepared)
- 1 1/2 cups crushed chocolate sandwich cookies
- 1 cup whipped cream or whipped topping
- 1/2 cup milk
- 1 teaspoon vanilla extract
- 1/2 cup cream cheese (softened)
- 1/4 cup powdered sugar
Optional Add-ins:
- 1/2 cup pastel candy eggs
- 1/4 cup mini chocolate eggs
- 1/4 cup shredded coconut (dyed green for “grass”)
- 1/2 teaspoon cocoa powder
- 1 tablespoon melted chocolate drizzle
- Easter-themed sprinkles
Step-by-Step Instructions
Step 1: Prepare the Pudding Base
In a mixing bowl, whisk together chocolate pudding mix, milk, and vanilla extract until smooth and thickened. Allow it to set for a few minutes to achieve a rich, creamy texture.
This forms the foundation of your dirt cups, so ensure it is smooth and lump-free. The pudding should be thick enough to hold layers but still soft and spoonable for easy assembly.
Step 2: Prepare the Cream Layer
In a separate bowl, beat cream cheese with powdered sugar until smooth and fluffy. Gently fold in whipped cream until fully combined.
This layer adds lightness and balance to the dessert. It should be airy and creamy, creating a contrast to the dense chocolate pudding and crunchy cookie crumbs.
Step 3: Assemble the Dirt Cups
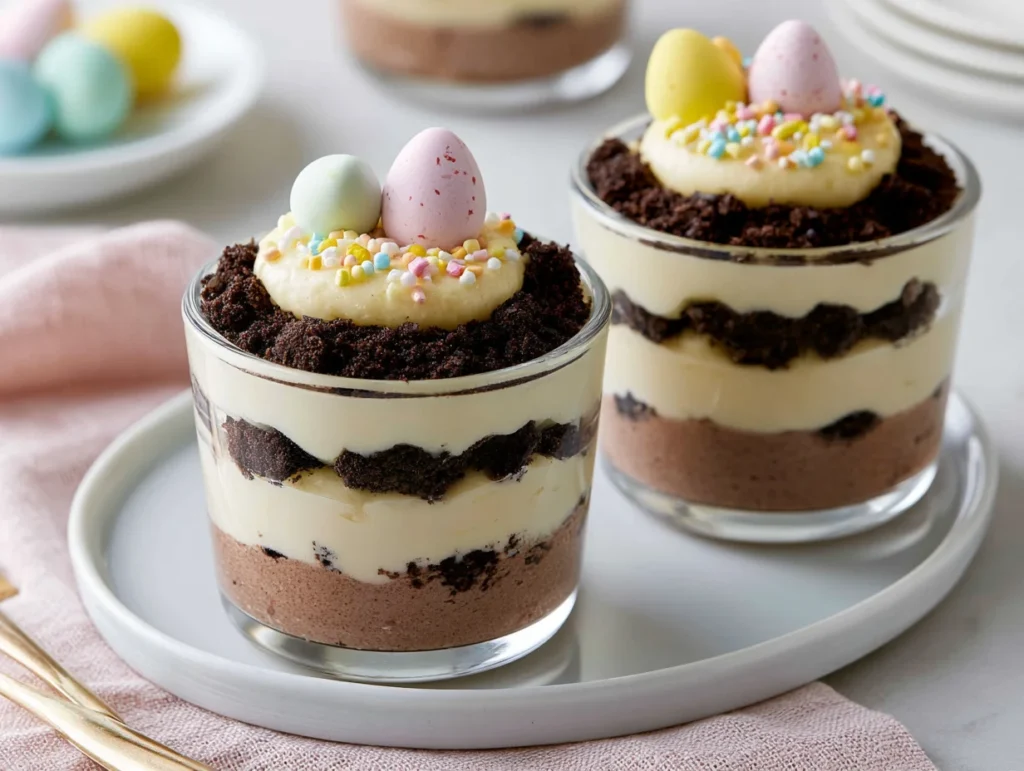
Start layering in clear cups or jars. Begin with chocolate pudding, followed by a layer of crushed cookies. Add a layer of cream mixture and repeat if desired.
Continue layering until cups are filled, finishing with cookie crumbs on top to resemble “dirt.” This creates the signature look of the dessert while maintaining flavor balance in every bite.
Step 4: Decorate for Easter
Top each cup with pastel candy eggs, mini chocolate eggs, and optional green coconut “grass.” Add sprinkles or chocolate drizzle for extra festivity.
Refrigerate for at least 1 hour before serving. This allows the layers to set and flavors to blend beautifully for the best texture and presentation.
Cook Time
Total:
1 hour 15 minutes
Prep:
15 minutes
Bake:
0 minutes
Servings
These Fun Easter Dirt Cups are perfect for festive gatherings, school parties, and family celebrations. Their individual serving style makes them easy to portion and serve.
Makes approximately 6 to 8 servings, depending on cup size and layering style. You can easily double the recipe for larger Easter events or dessert tables.
Each serving delivers a playful mix of creamy, crunchy, and chocolatey textures that both kids and adults enjoy equally.
Common Mistakes in This Recipe
One common mistake is using runny pudding, which causes the layers to collapse and lose structure. Proper thickening is essential.
Another issue is overmixing the cream layer, which can make it dense instead of light and fluffy. Gentle folding is key.
Using too many cookie crumbs at once can overpower the creamy layers and make the dessert overly dry in texture.
Skipping chilling time prevents the layers from setting properly, leading to a messy and unstable dessert presentation.
Solutions to Common Mistakes
Allow pudding to fully set before layering to maintain structure and consistency throughout the dessert.
Fold whipped cream gently into the cream cheese mixture to preserve airiness and light texture.
Balance cookie crumbs with creamy layers to maintain contrast and avoid dryness.
Always refrigerate before serving so the layers firm up and hold their shape beautifully.
Nutritional Information (approx. per serving)
- Calories: 310 kcal
- Protein: 4g
- Carbohydrates: 38g
- Fat: 15g
- Sugar: 28g
This dessert provides quick energy from carbohydrates, making it a fun and satisfying treat for celebrations.
The dairy components contribute calcium and small amounts of protein, supporting overall nutritional balance.
Chocolate adds antioxidants and enhances mood, making it a joyful indulgence during festive occasions.
When enjoyed in moderation, it offers a balanced combination of sweetness and creamy satisfaction.
Storage Instructions
Store Easter Dirt Cups in the refrigerator in covered containers or sealed cups for up to 3 days.
Keep them chilled at all times to maintain texture and prevent the cream layer from softening.
Avoid freezing, as it can alter the pudding and cream consistency once thawed.
For best results, add decorative toppings just before serving to keep them fresh and visually appealing.
Suggestions
Use clear cups or jars to showcase the beautiful layered effect of the dessert.
Add green-tinted coconut for a fun “grass” effect that enhances Easter presentation.
Mix in different cookies like Oreos or chocolate wafers for varied texture.
Add a drizzle of melted chocolate for extra richness and visual appeal.
Seasonal Relevance
This dessert is perfect for Easter celebrations due to its playful and colorful presentation.
It works beautifully for spring gatherings, school parties, and festive dessert tables.
The light, creamy texture makes it suitable for warmer spring weather.
Its customizable design allows it to adapt to different seasonal themes and decorations.
Final Words
Fun Easter Dirt Cups are a delightful blend of creativity, flavor, and simplicity.
They bring joy to the table with their playful layers and festive presentation.
This no-bake dessert is perfect for making celebrations stress-free and memorable.
Once served, they quickly become a favorite among both kids and adults alike.
Frequently Asked Questions
Can I make Easter Dirt Cups a day in advance?
Yes, they can be prepared a day ahead and stored in the refrigerator. This actually improves flavor and texture as the layers set properly. Just add toppings like candy eggs right before serving for the best presentation.
Can I use homemade pudding instead of instant mix?
Absolutely, homemade pudding works well and gives a richer flavor. Just ensure it is thick enough to hold layers properly so the dessert maintains structure when assembled and chilled.
What cookies work best for the “dirt” layer?
Chocolate sandwich cookies are ideal because they provide both color and crunch. However, you can also use chocolate wafers or any firm chocolate cookies for a similar effect.
Fun Easter Dirt Cups Recipe
15
minutes310
kcalFun Easter Dirt Cups are a playful no-bake dessert made with creamy chocolate pudding, crushed cookies, and whipped layers. Topped with festive Easter candy, they are fun, colorful, and perfect for spring celebrations and family gatherings.
Ingredients
2 cups chocolate pudding (prepared)
1 1/2 cups crushed chocolate sandwich cookies
1 cup whipped cream or whipped topping
1/2 cup milk
1 teaspoon vanilla extract
1/2 cup cream cheese (softened)
1/4 cup powdered sugar
1/2 cup pastel candy eggs
1/4 cup mini chocolate eggs
1/4 cup shredded coconut (green dyed)
1/2 teaspoon cocoa powder
1 tablespoon melted chocolate drizzle
Easter sprinkles
Directions
- Prepare chocolate pudding with milk and vanilla until thick.
- Beat cream cheese with powdered sugar until smooth.
- Fold in whipped cream to make a light cream layer.
- Layer pudding, crushed cookies, and cream in cups.
- Repeat layers until cups are filled.
- Top with cookie crumbs for “dirt” effect.
- Decorate with candy eggs, coconut grass, and sprinkles.
- Chill for at least 1 hour before serving.
Recipe Video
Notes
- Ensure pudding is thick before layering.
- Fold cream gently to keep it airy.
- Chill properly for stable layers.
- Add toppings just before serving for freshness.
- Use clear cups for best presentation.