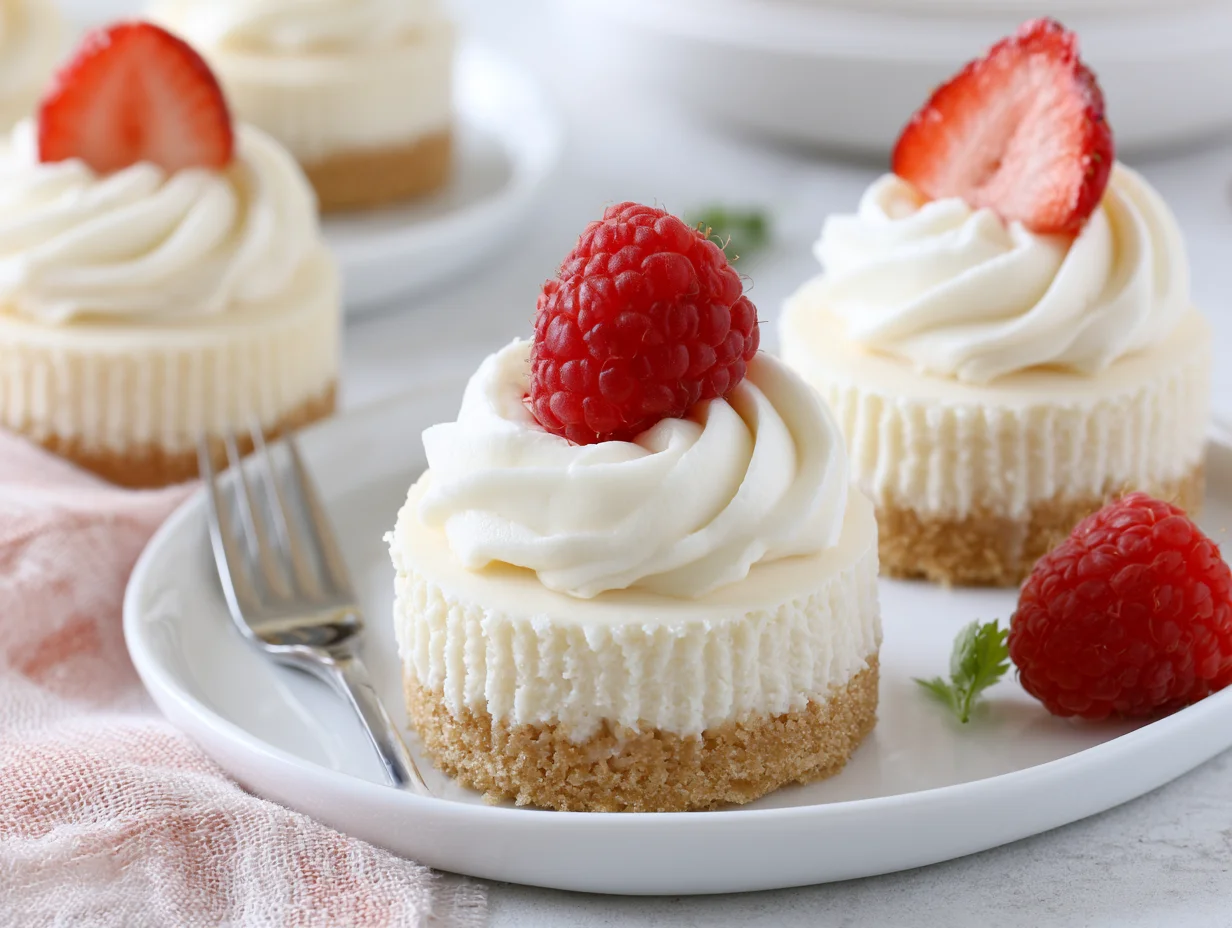
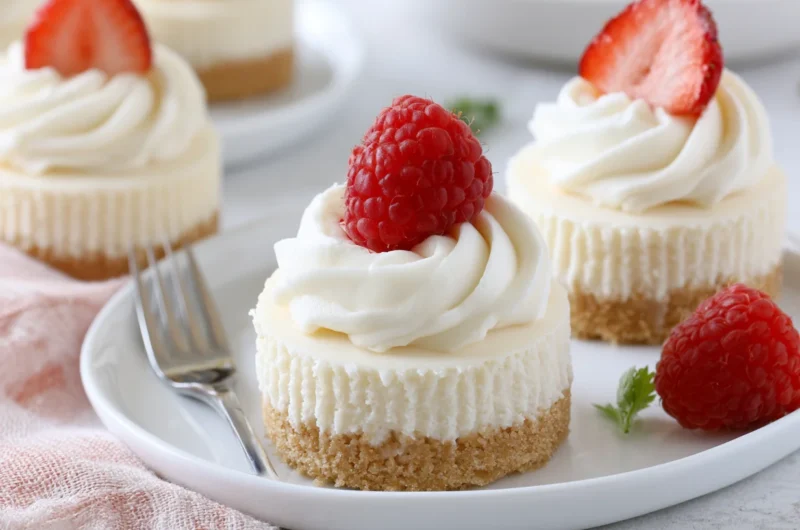
Few desserts capture elegance and simplicity quite like a perfectly made cheesecake. These No Bake Mini Cheesecakes bring that same indulgent experience into a format that is approachable, quick, and effortlessly refined. They are smooth, creamy, and beautifully portioned for any occasion.
What makes this recipe exceptional is its balance between richness and lightness. Without the need for baking, you achieve a velvety texture that melts in the mouth while preserving a fresh, clean flavor profile. It’s a modern take on a classic dessert.
This recipe is ideal for entertaining, meal prepping, or satisfying a sweet craving without committing to a full-sized cheesecake. Each mini portion feels special, making it perfect for gatherings or elegant presentations.
Whether you’re new to dessert-making or an experienced home cook, these cheesecakes deliver consistent results with minimal effort. They are sophisticated yet simple—exactly what a premium dessert recipe should offer.
Ingredients You’ll Need
There’s something irresistible about a dessert that looks luxurious yet comes together with minimal effort and everyday ingredients.
One of the things I love about this recipe is that it uses simple pantry ingredients. You probably already have most of them in your kitchen.
Base Ingredients:
- 1 cup crushed digestive biscuits
- 4 tablespoons melted butter
- 1 cup cream cheese
- 1/2 cup heavy cream
- 1/3 cup powdered sugar
- 1 teaspoon vanilla extract
Optional Add-ins:
- 1/2 cup fresh berries
- 2 tablespoons fruit jam
- 2 tablespoons chocolate sauce
- 1 tablespoon lemon zest
Step-by-Step Instructions
Step 1: Prepare the Crust
In a mixing bowl, combine crushed digestive biscuits with melted butter. Mix until the texture resembles wet sand and holds together when pressed. Spoon the mixture into mini serving cups or a muffin tray lined with liners. Press firmly using the back of a spoon to create a compact base. Ensure the crust is even and stable, as it forms the foundation of your cheesecake. Place the tray in the refrigerator to chill for at least 20 minutes.
Step 2: Make the Cheesecake Filling
In a bowl, beat the cream cheese until smooth and lump-free. Add powdered sugar and vanilla extract, mixing until fully combined. In a separate bowl, whip the heavy cream until soft peaks form, then gently fold it into the cream cheese mixture. This creates a light yet creamy texture. Avoid overmixing to maintain airiness. The filling should be silky, thick, and easy to pipe or spoon over the crust.
Step 3: Assemble the Cheesecakes
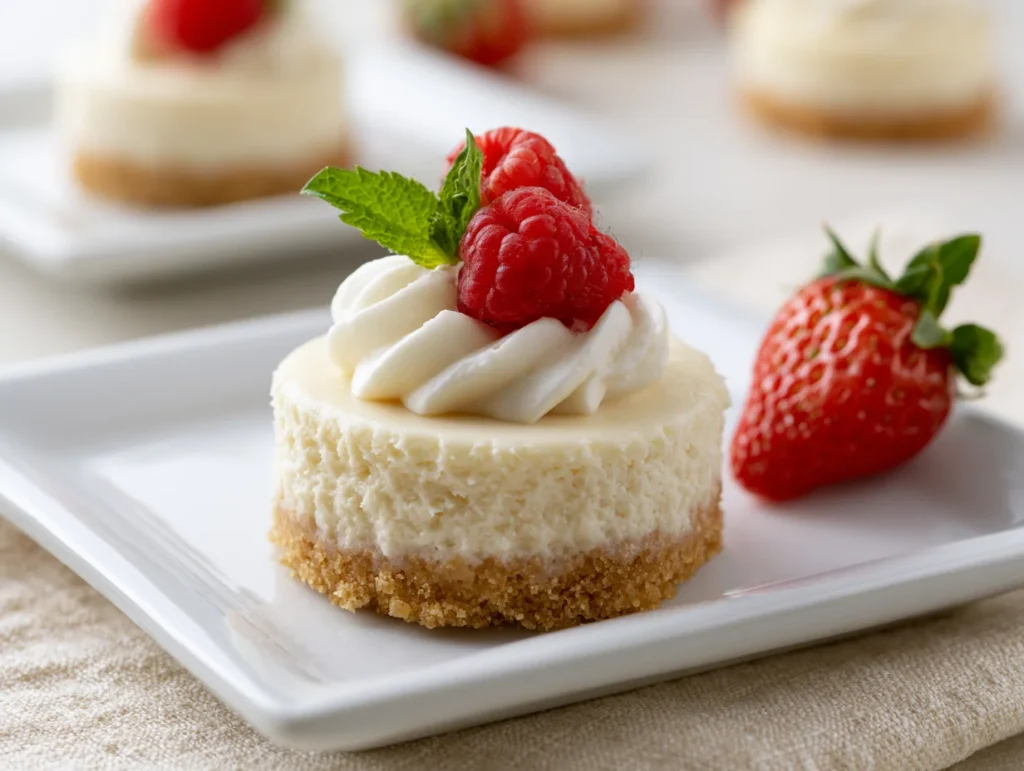
Remove the chilled crusts from the refrigerator. Spoon or pipe the cheesecake filling evenly over each base, smoothing the tops with a spatula. Tap lightly to remove air bubbles and ensure an even surface. Add any desired toppings such as berries or a drizzle of sauce. Keep the presentation neat, as these mini cheesecakes are as visually appealing as they are delicious.
Step 4: Chill Until Set
Place the assembled cheesecakes in the refrigerator for at least 3–4 hours, or until fully set. Proper chilling allows the filling to firm up while maintaining its creamy texture. Once set, they can be served directly or garnished further before serving. The result is a perfectly balanced dessert with a smooth top and a firm, buttery base.
Cook Time
Total:
Approximately 4 hours
Prep:
20 minutes
Bake:
No baking required
Servings
This recipe is designed for convenience and elegance, making it perfect for both casual treats and special occasions. The individual portions ensure easy serving and minimal effort when entertaining guests.
Makes approximately 8 to 10 mini cheesecakes, depending on the size of your molds or cups. The recipe can be scaled easily for larger gatherings without affecting consistency.
Each serving offers a balanced combination of creamy filling and crunchy base, delivering a complete dessert experience in a compact form. It’s ideal for portion control while still feeling indulgent.
Common Mistakes in This Recipe
One common mistake is using cream cheese that is too cold, which can lead to a lumpy filling that doesn’t blend smoothly.
Another issue is not chilling the crust long enough. A soft base can crumble and fail to hold the filling properly.
Overwhipping the cream can cause the filling to become too stiff, affecting the final texture of the cheesecake.
Skipping proper chilling time often results in a loose filling that doesn’t set, making the cheesecakes difficult to serve neatly.
Solutions to Common Mistakes
Allow cream cheese to reach room temperature before mixing to achieve a smooth, lump-free consistency.
Chill the crust thoroughly before adding the filling to ensure a stable base.
Whip the cream just until soft peaks form and fold gently to maintain a light texture.
Give the cheesecakes enough time to set in the refrigerator for clean slicing and perfect structure.
Nutritional Information (approx. per serving)
- Calories: 220–260 kcal
- Protein: 3–5g
- Carbohydrates: 18–22g
- Fat: 14–18g
- Sugar: 10–12g
These mini cheesecakes provide a satisfying energy boost due to their balanced combination of fats and carbohydrates, making them a great occasional treat.
The dairy content offers a source of calcium, which supports bone health and overall wellness.
Using fresh fruit toppings can add vitamins and antioxidants, enhancing the nutritional profile.
Enjoyed in moderation, this dessert can fit into a balanced lifestyle while still delivering indulgent flavor.
Storage Instructions
Store the mini cheesecakes in an airtight container in the refrigerator to maintain freshness and texture.
They can be kept for up to 3 days without compromising quality, making them ideal for advance preparation.
Avoid leaving them at room temperature for long periods, as the filling may soften too much.
For best results, keep toppings separate until serving to preserve their texture and appearance.
Suggestions
Serve these cheesecakes chilled with fresh berries or a drizzle of fruit sauce for a refreshing finish.
You can experiment with different crusts, such as chocolate biscuits or graham crackers, for variety.
For a richer flavor, add a layer of chocolate ganache on top before chilling.
Consider presenting them in clear glasses for an elegant, layered dessert look.
Seasonal Relevance
These mini cheesecakes are perfect for summer when no-bake desserts are especially appealing and convenient.
In spring, they pair beautifully with fresh seasonal fruits like strawberries and blueberries.
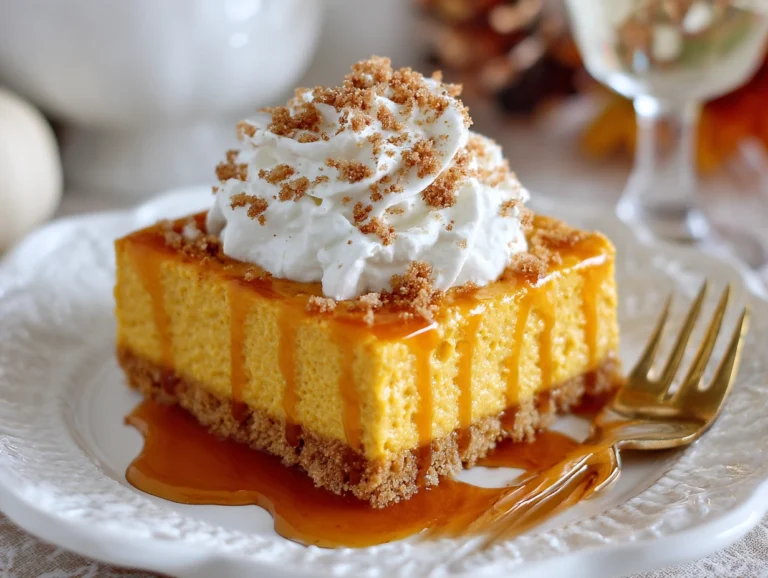
During autumn, you can incorporate warm flavors like cinnamon or caramel for a seasonal twist.
Even in winter, they remain a popular choice for gatherings, offering a light alternative to heavier desserts.
Final Words
No Bake Mini Cheesecakes are a perfect example of how simplicity can create something truly elegant and satisfying.
They require minimal effort yet deliver a premium dessert experience that feels thoughtfully crafted.
This recipe is versatile, allowing you to adapt flavors and presentation to suit any occasion.
Once you make them, they’re likely to become a go-to dessert for both everyday treats and special celebrations.
Frequently Asked Questions
Can I freeze no bake mini cheesecakes?
Yes, these cheesecakes can be frozen for up to one month. Wrap them individually and store in an airtight container. Thaw in the refrigerator before serving to maintain texture and flavor. Avoid freezing with fresh fruit toppings for best results.
What can I use instead of digestive biscuits?
You can substitute digestive biscuits with graham crackers, Oreo crumbs, or any plain sweet biscuits. The key is achieving a crumb texture that binds well with butter to form a firm base for the cheesecake.
How do I make them firmer without baking?
To achieve a firmer texture, ensure proper chilling time and use full-fat cream cheese. You can also add a small amount of gelatin if needed, but it’s usually not necessary if the recipe is followed correctly.
No Bake Mini Cheesecakes Recipe
20
minutes260
kcalSmooth, creamy, and effortlessly elegant, these no bake mini cheesecakes are the perfect quick dessert. With a buttery biscuit base and rich filling, they deliver a balanced, indulgent flavor without the need for baking.
Ingredients
1 cup crushed digestive biscuits
4 tablespoons melted butter
1 cup cream cheese
1/2 cup heavy cream
1/3 cup powdered sugar
1 teaspoon vanilla extract
1/2 cup fresh berries (optional)
2 tablespoons fruit jam (optional)
2 tablespoons chocolate sauce (optional)
1 tablespoon lemon zest (optional)
Directions
- Mix crushed biscuits with melted butter until combined.
- Press mixture into mini cups or lined tray to form a base.
- Chill the crust in the refrigerator for 20 minutes.
- Beat cream cheese until smooth, then add sugar and vanilla.
- Whip heavy cream separately until soft peaks form.
- Fold whipped cream into the cream cheese mixture gently.
- Spoon or pipe filling over chilled crusts.
- Add toppings as desired.
- Refrigerate for 3–4 hours until set.
- Serve chilled.
Recipe Video
Notes
- Use room temperature cream cheese for a smooth filling.
- Do not skip chilling time for proper setting.
- Fold whipped cream gently to keep texture light.
- Add toppings just before serving for best presentation.