Chewy Original Rice Krispies Squares Recipe
Soft, gooey, and irresistibly chewy Rice Krispies Squares are the kind of treat that never goes out of style. Loved by kids and adults alike, this classic dessert combines simple ingredients to create a nostalgic snack that’s both quick to make and delightful to eat. Whether you’re preparing them for a school lunchbox, a bake sale, or just a cozy movie night at home, these sweet squares are guaranteed to bring smiles to everyone’s face. The best part? You don’t need any fancy equipment or baking skills just a few minutes in the kitchen, and you’re ready to enjoy.
In this recipe, we’ll show you how to make the perfect chewy original Rice Krispies Squares soft enough to melt in your mouth, yet firm enough to hold their shape. From getting the marshmallow to cereal ratio just right to achieving that signature chewy texture, you’ll learn all the tips and tricks for a flawless batch every time. Whether you stick to the classic version or add your own creative twist, these treats will quickly become a family favorite. Get ready to whip up a batch that’s as fun to make as it is to eat!
Why You Need This Recipe
If you’ve ever bitten into a Rice Krispies Square and wished it was softer, chewier, and more flavorful, this recipe is for you. We’ve perfected the balance of gooey marshmallows, buttery richness, and light, crispy cereal to create a treat that’s far from dry or crumbly. The result is a melt in your mouth texture with just the right amount of sweetness making it an instant hit for all ages.
This recipe is also incredibly quick and foolproof, which means you can whip it up in less than 15 minutes with ingredients you probably already have in your pantry. It’s perfect for last-minute gatherings, lunchbox surprises, or simply satisfying your sweet tooth without spending hours in the kitchen. Once you try these chewy, homemade squares, you’ll never go back to store bought again.
Ingredients
Here’s everything you’ll need to create the perfect Chewy Original Rice Krispies Squares simple ingredients that come together for a truly irresistible treat.
| Ingredient | Quantity | Calories* |
|---|---|---|
| Rice Krispies cereal | 6 cups | 600 |
| Mini marshmallows | 10 oz (about 5 cups) | 800 |
| Unsalted butter | 3 tbsp | 300 |
| Vanilla extract (optional) | 1 tsp | 12 |
| Pinch of salt (optional) | — | 0 |
Total Calories (per square, based on 12 servings): ~146 calories
How to Prepare
Start by preparing a 9×13 inch baking dish. Lightly grease it with butter or non-stick spray, or line it with parchment paper for easy removal later. This step ensures your Rice Krispies Squares won’t stick to the pan, making them easier to cut and serve.
In a large saucepan over low heat, melt the unsalted butter slowly, stirring occasionally to prevent browning. Once the butter is fully melted, add the mini marshmallows and stir continuously until they melt into a smooth, creamy mixture. At this stage, you can stir in the vanilla extract and a pinch of salt for enhanced flavor.
Remove the saucepan from the heat and quickly fold in the Rice Krispies cereal. Stir gently but thoroughly, making sure each piece is evenly coated with the marshmallow mixture. Transfer the mixture into your prepared baking dish and, using lightly buttered hands or a spatula, gently press it down evenly be careful not to press too hard, as this can make the squares too dense.
Let the bars cool at room temperature for about 30 minutes until set. Once cooled, slice them into squares or rectangles and serve. These chewy, buttery treats are best enjoyed fresh but can be stored in an airtight container for several days.
Pro Tips
For the chewiest and softest Rice Krispies Squares, always melt the butter and marshmallows over low heat. High heat can cause the mixture to become stiff and lose that perfect gooey texture. Patience here truly pays off.
When pressing the mixture into the pan, use light pressure too much force will pack the cereal too tightly, resulting in hard bars. Lightly butter your hands or spatula to keep the sticky marshmallow from clinging while you shape the squares.
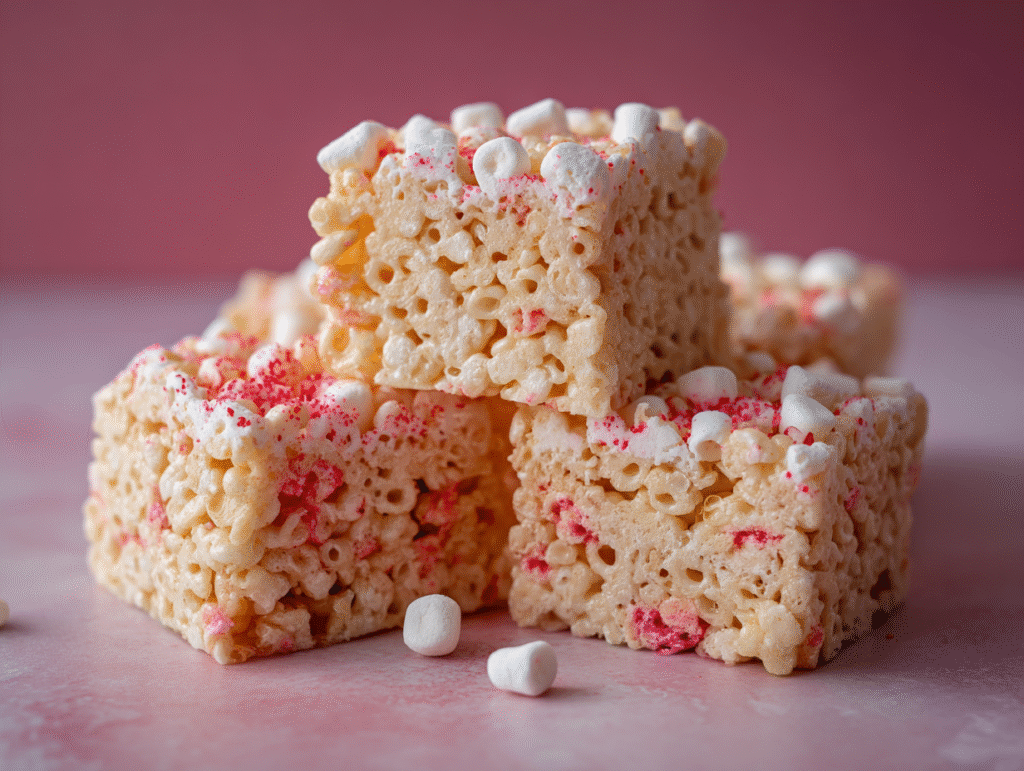
For extra flavor and texture, try mixing in mini chocolate chips, sprinkles, or crushed cookies once the cereal is coated but slightly cooled. Just remember to fold them in gently so the add ins don’t melt completely.
If you want perfectly neat squares, wait until the bars are completely cool before cutting. Use a sharp, buttered knife for clean edges and minimal crumbling.
Perfect Pairings and Toppings
Rice Krispies Squares are delicious on their own, but pairing them with the right drink or topping can take them to a whole new level. For a classic combination, serve them with a glass of cold milk or a warm cup of hot chocolate the creamy drink complements the chewy sweetness perfectly. If you’re in the mood for something fancier, try pairing them with a cappuccino or a latte for a cozy cafe style treat at home.
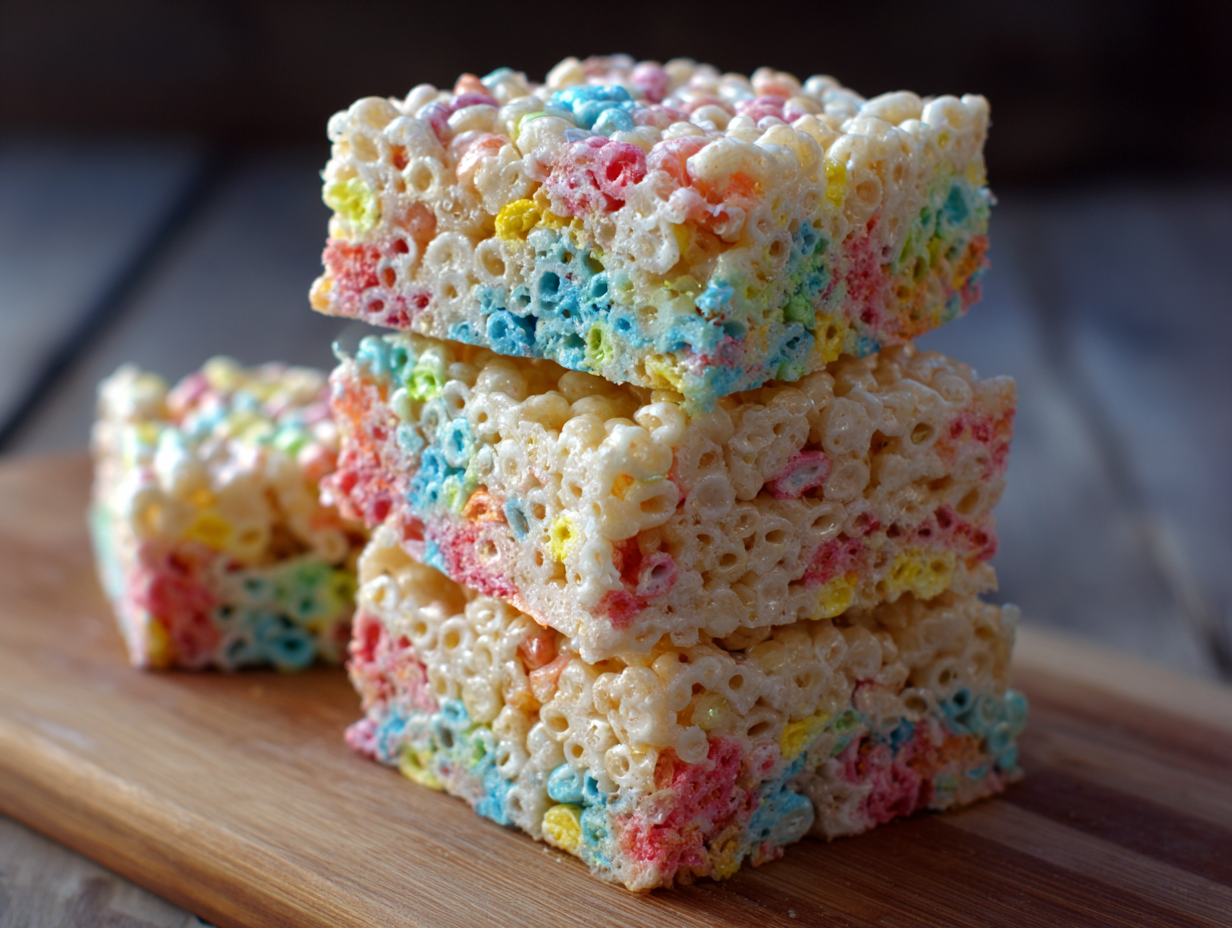
When it comes to toppings, the possibilities are endless. Drizzle melted chocolate over the cooled squares for a rich, indulgent finish, or add a sprinkle of sea salt to balance the sweetness. For a colorful twist, scatter rainbow sprinkles or crushed candy pieces on top while the mixture is still slightly warm so they stick. You can even spread a thin layer of peanut butter or Nutella before slicing for an irresistible flavor upgrade. These little extras make your Rice Krispies Squares not only taste amazing but also look bakery worthy.
Conclusion
Chewy Original Rice Krispies Squares are the ultimate example of how simple ingredients can create something truly unforgettable. With their soft, gooey texture, buttery sweetness, and satisfying crunch, they bring comfort and nostalgia in every bite. Whether you’re making them for a family gathering, a school snack, or just to satisfy a late night craving, this recipe delivers consistent, delicious results every time.
By following the tips and tricks shared here, you can easily master the art of making perfectly chewy bars that everyone will love. And with endless pairing and topping options, you can make them uniquely your own. So grab your ingredients, melt those marshmallows, and get ready to enjoy a timeless treat that never fails to bring joy.